
Sidebar
dvbcore
Table of Contents
Porting Guide
DVBCore uses a Hardware Abstraction Layer (HAL) defined by the header files in platform/inc. The implementation of such functions is external and depends on the particular target platform, For an example implementation of the DVBCore HAL, please see the DTVKit App, which is an example application using DVBCore and running on a Linux PC. In App, you will find the implementation of the HAL in platform/hw/linux and platform/os/linux.
DVBCore will call STB_HWInitialise; be sure this function initialises everything your platform needs. Also, while you extend your implementation of the HAL, you will probably need to extend the implementation of STB_HWInitialise too.
The first step to port DVBCore will be to implement the operating system functions defined in stbhwos.h and the memory management functions in stbhwmem.h, in particular, at the very first stage of the porting process:
- STB_MEMGetSysRAM
- STB_MEMResizeSysRAM
- STB_MEMFreeSysRAM
- STB_MEMGetAppRAM
- STB_MEMResizeAppRAM
- STB_MEMFreeAppRAM
If you are using the User Interface Engine (UIE) in DTVKit App, you will have to implement the OSD functions defined in stbhwosd.h to be able to display the user interface on screen. In particular the following ones:
- STB_OSDClear
- STB_OSDGetSize
- STB_OSDDrawVLine
- STB_OSDDrawHLine
- STB_OSDDrawBitmap
- STB_OSDReadBitmap
- STB_OSDDrawRectangle
- STB_OSDDrawPixel
- STB_OSDReadPixel
- STB_OSDFill
- STB_OSDEnable
- STB_OSDUpdate
Next, you should make sure the remote control key events are notified to DVBCore using STB_OSSendEvent, with class HW_EV_CLASS_HANDSET. The code will depend on your implementation and represents the key on the remote control. If you use the user interface provided in DTVKit App, you will have to use “HS_EVENT_” codes defined in App/platform/hw/linux/inc/stbhwkey.h
The functions to control the tuners are defined in stbhwtun.h. If your hardware supports more than one type of signal, you can implement the tuning functionality for one of them only, to start with. The function STB_HWGetTunerPaths, defined in stbhwc.h, must return the number of tuners supported by your HAL. It is also important that the DVBCore is notified with the tuning status, using the function STB_OSSendEvent, class HW_EV_CLASS_TUNER and type HW_EV_TYPE_LOCKED or HW_EV_TYPE_LOCKED.
Once the tuner is working, the next step will be to implement the HAL functions for section filtering, they are defined in stbhwdmx.h. The first functions to implement will probably be the following ones:
- STB_DMXGetCapabilities
- STB_DMXSetDemuxSource
- STB_DMXGrabPIDFilter
- STB_DMXGrabSectFilter
- STB_DMXSetupSectFilter
- STB_DMXStartPIDFilter
- STB_DMXStopPIDFilter
- STB_DMXReleaseSectFilter
- STB_DMXReleasePIDFilter
It is also necessary that the function STB_HWGetDemuxPaths, defined in stbhwc.h, returns the number of demuxes implemented by your HAL.
At this stage of the porting, DVBCore will be able to perform channel searches and SI monitoring. Your application should now be able to populate the channel list and display event information, but no A/V presentation will happen until the relevant HAL functions are implemented. They're mainly defined in stbhwav.h, in particular, the most important functions you should implement first are:
- STB_AVSetVideoSource
- STB_AVSetAudioSource
- STB_AVBlankVideo
- STB_AVSetVideoCodec
- STB_AVStartVideoDecoding
- STB_AVStopVideoDecoding
- STB_AVSetAudioCodec
- STB_AVStartAudioDecoding
- STB_AVStopAudioDecoding
In addition, be sure that your HAL correctly notifies DVBCore with the correct decoding events, using the function STB_OSSendEvent, class HW_EV_CLASS_DECODE and types HW_EV_TYPE_AUDIO_STARTED, HW_EV_TYPE_VIDEO_STARTED, HW_EV_TYPE_AUDIO_STOPPED or HW_EV_TYPE_VIDEO_STOPPED. Also, STB_DMXChangeDecodePIDs (defined in stbhwdmx.h) must be implemented to properly set up the PES filters for decoding.
Now your application should be able to present audio and video as well.
API Documentation
The online API for the latest version of DVBCore can be found here
Building (for test enviroment)
The DVBCore is a standalone component which you can plug an application and platform into to enable it to run. To run the DVBCore in a tested environment, DTVKit have provided an application and linux platform port. You need to compile DVBCore and the Application to enable you to have an executable to run tests. You can also run standalone without running tests if you just wish to simulate DVBCore.
To test DVBCore we have provided a number of tests which should be run.
DVBCore with the App can be run standalone without plugging in a test to be run.
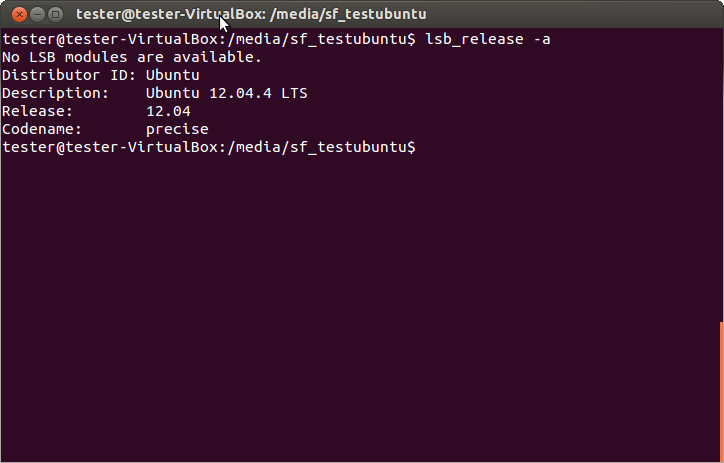
You must have a linux environment setup. We recommend Ubuntu 12.04 LTS.
Get the source of the DVBCore and App from our GIT Repository. This tutorial assumes they are contained in directories with the same names as the repositories, but you can have them in differently named directories if you wish.
To enable you to run DVBCore on Linux you must compile DVBCore and the App Linux build. Please follow the instructions on how to do this below:-
DVBCore
1) There are a number of libs that are required for the build. Make sure that you have the following installed on your linux:-
- libjpeg8-dev
- libpng12-dev
- zlib1g-dev
2) Go to your DVBCore directory and set-up the particular platforms environment variables. You can do this in linux by checking and running a script that is in the root of DVBCore “source ./example_setenv.sh” The default values should work in this script.
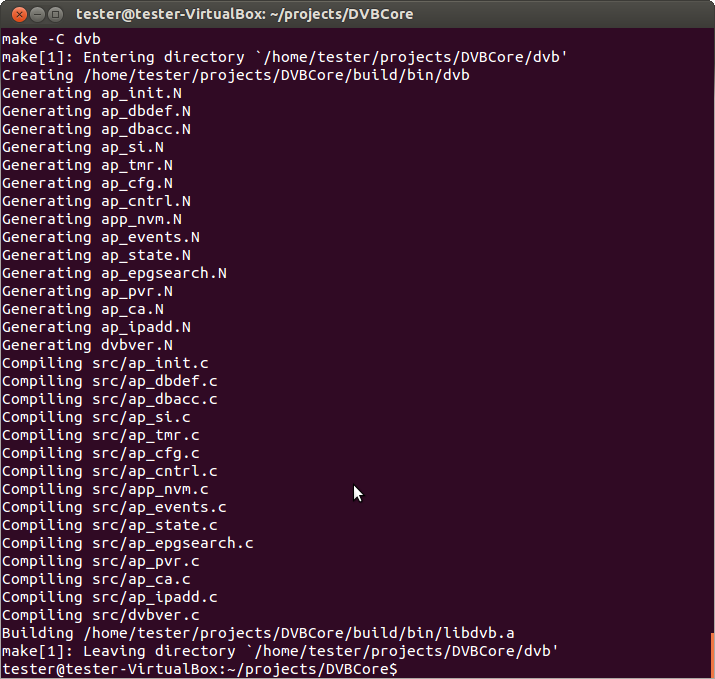
3) You can then “make” the DVBCore and it should compile successfully. If you need to, you can also clean the build by running “make clean”. Once compiled the library should be built here:- DVBCore/build/bin/libdvb.a
App
1) There are a number of libs that are required for the build. Make sure that you have the following installed on your linux:-
- libsdl1.2-dev
- libavcodec-dev
- libavformat-dev
- libswscale-dev
- liblua5.1-0-dev
- libfreetype6-dev
You must also have g++ compiler installed which is not installed by a default installation of Ubuntu.
2) Go to your App directory and set-up the particular platforms environment variables for the app. Check and modify the example_setenv.sh that is here. In particular, make sure that DTVKIT_DVBCORE_LIB and DTVKIT_DVBCORE_ROOT are correct. You can create your own script if needed and once done use “source ./example_setenv.sh”.
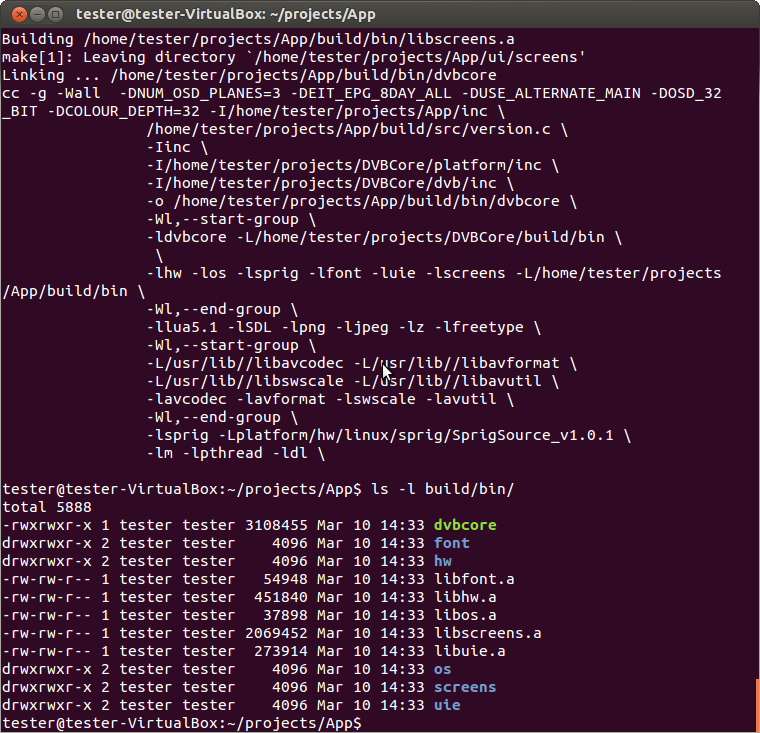
3) You can then run “make” and on successful compilation you should find the binary in build/bin/dvbcore
4) Once you have done this you should copy the dvbcore into the App directory so that it has test as a subdirectory:-
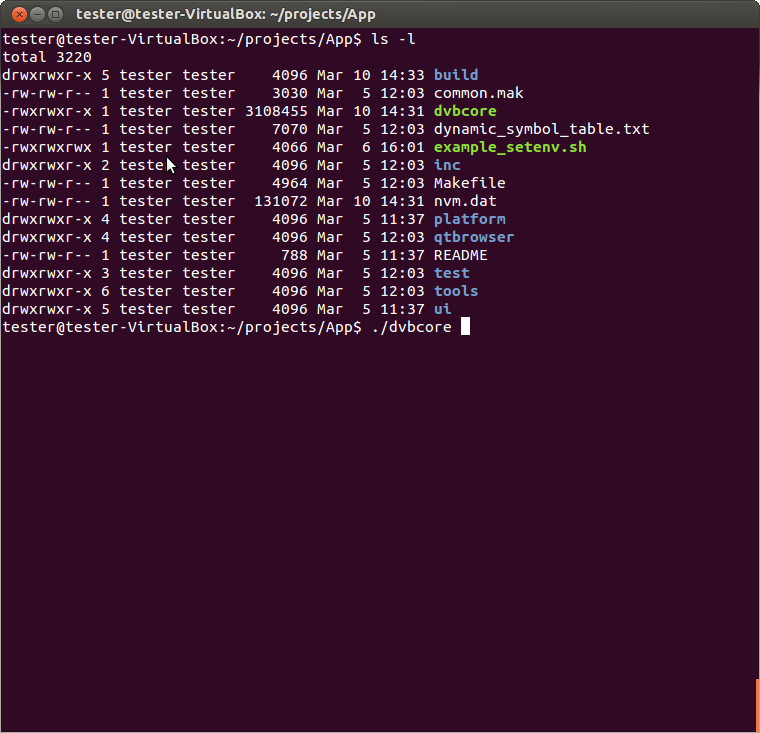
5) You should then be able to run dvbcore… “./dvbcore”
Running
Tuning / Streams
If running the simulator standalone the dvbcore will look in a folder named “ts” which you need to create. In this folder you can put in streams which you would like to run. The naming of these streams in this folder should be the frequency which they will be tunable to. For example /ts/722000000.ts when the tuner tunes to 722 MHz it will try to tun to this stream. /ts/754000000.ts when the tuner tunes to 754 MHz it will tune to this stream.
Key presses / Functions
The following key presses can be used to control the UI:-
| Keypress | UI Button/Function |
|---|---|
| RETURN | OK Button |
| PAGE DOWN | Channel Down Button |
| UP ARROW | Up Button |
| DOWN ARROW | Down Button |
| LEFT ARROW | Left Button |
| RIGHT ARROW | Right Button |
| ESCAPE | Exit Button |
| 0 / Keypad 0 | 0 Button |
| 1 / Keypad 1 | 1 Button |
| 2 / Keypad 2 | 2 Button |
| 3 / Keypad 3 | 3 Button |
| 4 / Keypad 4 | 4 Button |
| 5 / Keypad 5 | 5 Button |
| 6 / Keypad 6 | 6 Button |
| 7 / Keypad 7 | 7 Button |
| 8 / Keypad 8 | 8 Button |
| 9 / Keypad 9 | 9 Button |
| a | Check AV pids function |
| b | Blue button |
| c | Take Screenshot function |
| e | EPG Button |
| f | Favourites Button |
| g | Green Button |
| i | Information Button |
| l | Language Button |
| m | Menu Button |
| Shift + m | Mute Button |
| p | Pause Button |
| q | Standby Button |
| r | Red Button |
| s | Subtitles Button |
| Ctrl + s | Take Screenshot Function |
| t | Text Button |
| x | Quit Function |
| y | Yellow Button |
| =/+ | Volume Up Button |
| - | Volume Down Button |
| F1 | Services Button |
| F4 | Record Button |
| F5 | Play Button |
| F6 | Pause Button |
| F7 | Stop Button |
| F8 | Fast Forward Button |
| Ctrl + F8 | Rewind Button |
| F9 | CAM Toggle Function |
| F12 | Scale Function |
Testing
The simulator allows you to playback pre-recorded tests and also create your own tests.
Playback
Setup
There are a number of pre-recorded tests in the \test\DVBCore\DTG_SI\ directory and these are tests which should pass before any new code can be commited to the DVBCore repository. To run each test the dvbcore takes a number of arguments as follows:-
-m <mode> Select mode: “record” or “playback”. If no mode is specified, it will run the simulator without scripts. For Playback you will need to specify: “-m playback”
-s <stream_config> Select stream configuration file. Configs for running pre-recorded tests can be found under test/DVBCore/lua/stream_configs. The default stream config can be found here: test/DVBCore/lua/stream_configs/default.lua. An example of this is “-s test/DVBCore/lua/stream_configs/SI_UK_DTT_7.50/ukdtt_si01_7.50.lua” If you want to run a test on si01 of the DTG SI Test streams. The DVBCore application looks for streams which are stored in the root of the App folder under /streams/. Make sure all streams are kept here (this can be done with a symbolic link if needed.
-t <test> (record and playback only). Specify test recording directory. In here specify the directory of the test which you would like to playback. The pre-recorded tests for DVBCore are here: test/DVBCore/DTG_SI/SI_UK_DTT_7.50/. An example of running SI01 002 would be:- “-t test/DVBCore/DTG_SI/SI_UK_DTT_7.50/SI01/SI01_002”
-p <directory for tap file>
An example of running dtg-580:SI01_002::Local Time Offset (single) test would be the following:-
“./dvbcore -m playback -t test/DVBCore/DTG_SI/SI_UK_DTT_7.50/SI01/SI01_002 -s test/DVBCore/lua/stream_configs/SI_UK_DTT_7.50/ukdtt_si01_7.50.lua” - p /home/testresults/
Results
Results of the tests which have been run are reported using “.tap” files. When a test has finished it creates a .tap file which uses standard TAP protocol to report if a test has passed or failed. You can find out about TAP protocol here.
Record
To create your own recordings use the same arguments as playback, but you need to change the mode to “record”. Specifying your test -t will create a new directory of what name you choose to give your test. You will also need to add the following parameters:-
-n<title> - The title of the test, for example “-n “SI01_002::Local Time Offset (single)””
-c<short_name> - The name of the tap file which will be created for creating test results, for example “-c SI01_002” will then create a “SI01_002.tap” file.
-sync - true of false for stream sync to be enabled. The is used for when running multiple streams at the same time. When you switch stream the stream time will be remembered and will attempt to enter the newly tuned stream in at the same time.
dvbcore.txt · Last modified: 2020/11/18 15:59 (external edit)
Except where otherwise noted, content on this wiki is licensed under the following license: CC Attribution-Share Alike 4.0 International
